Egg Incubation Guide 2026: Easy Hatching Tips
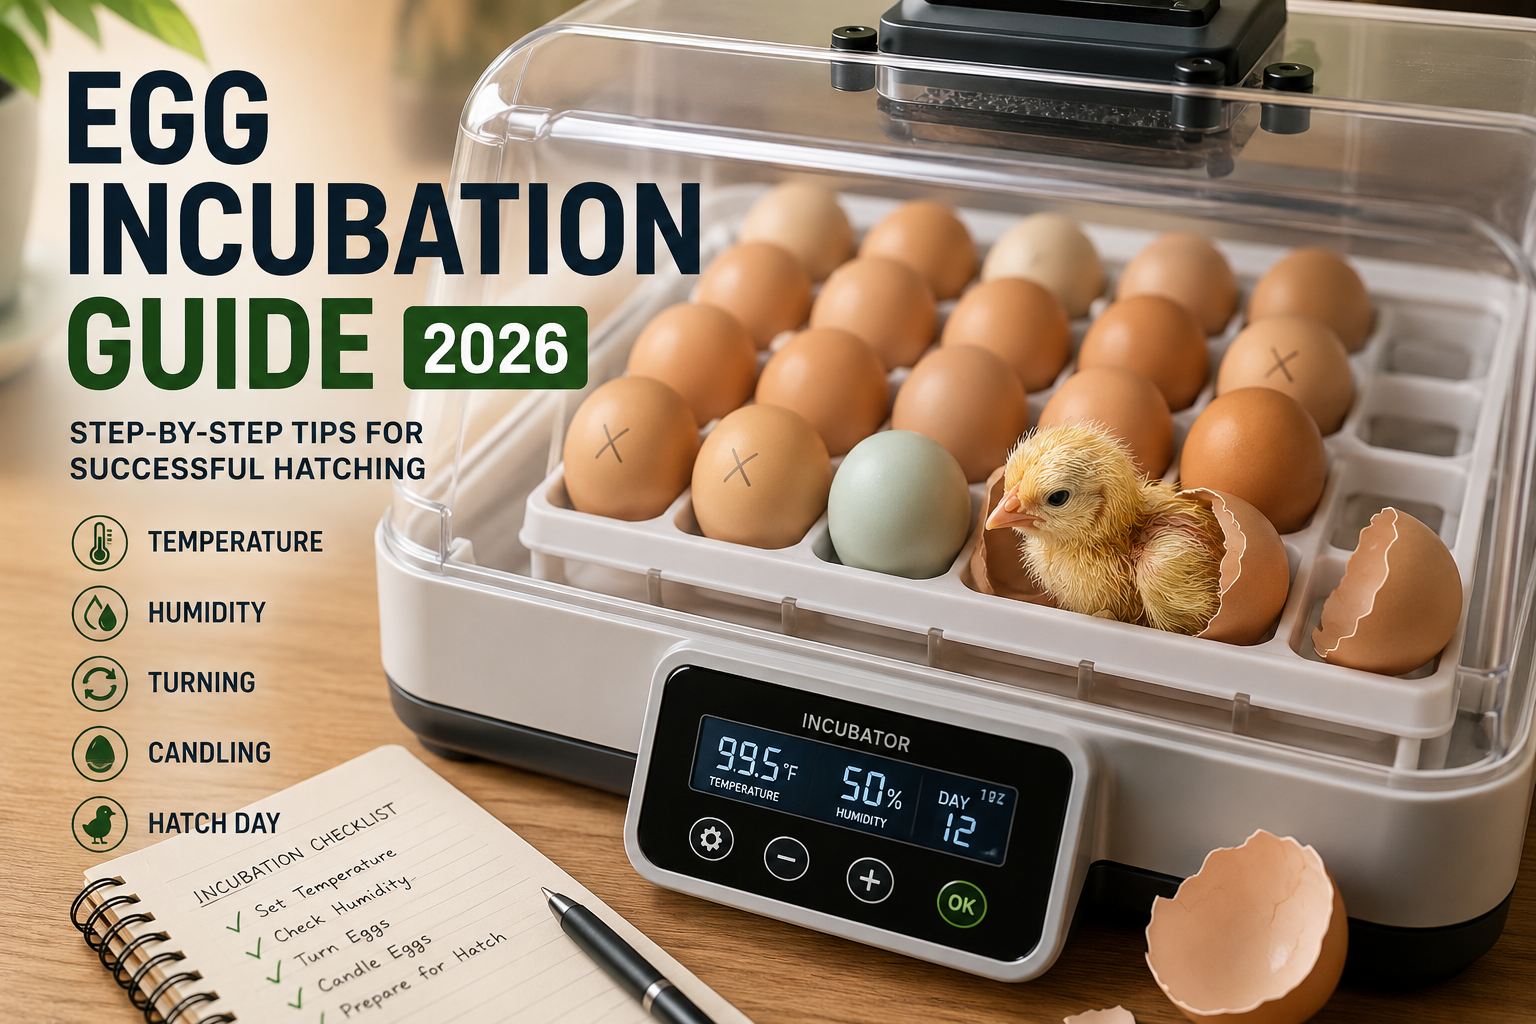
Hatching fertile eggs at home can be exciting, but success depends on careful preparation. This Egg Incubation Guide explains the key steps beginners and experienced poultry keepers can follow in 2026. Whether you have a small backyard flock or want to hatch chicks for a larger project, the right temperature, humidity, ventilation, and egg turning can make a major difference.
For chicken eggs, incubation normally takes about 21 days. However, small temperature changes can affect hatch timing and embryo development. [Internal Link: Chicken Egg Hatching Guide]
Why This Egg Incubation Guide Matters
Successful incubation is not simply about putting eggs inside an incubator. Instead, you must create stable conditions that support embryo growth.
A reliable Egg Incubation Guide can help you:
- Choose suitable fertile eggs.
- Maintain the correct incubator temperature.
- Control humidity throughout incubation.
- Turn eggs correctly.
- Monitor embryo development through candling.
- Prepare for the final hatch.
Additionally, keeping the incubator closed as much as possible helps prevent sudden changes in temperature and humidity.
Egg Incubation Guide: Key Factors
1. Choose Good Fertile Eggs
Start with clean, healthy, normally shaped eggs. Avoid eggs with cracks, very thin shells, or severe dirt. Do not wash hatching eggs because washing can damage the protective surface of the shell.
If you need fertile eggs, purchase them from a reliable breeder or hatchery. [External Link Placeholder: Trusted Poultry Hatchery]
2. Set the Right Temperature
Temperature is one of the most important parts of chicken egg incubation. For many forced-air incubators, the target is close to 99.5°F (37.5°C), although you should always follow your incubator manufacturer’s instructions.
Therefore, use a reliable thermometer and check that your incubator holds a stable temperature before adding eggs.
3. Control Humidity
Humidity affects how much moisture an egg loses during development. As a result, incorrect humidity can contribute to poor hatching results.
Your incubator may use a water reservoir to control humidity. During the final three days, humidity should generally increase, helping the membranes remain flexible while chicks hatch.
[Internal Link Placeholder: Chicken Egg Humidity Guide]
4. Turn Eggs Regularly
Turning helps prevent the developing embryo from sticking to the shell membrane. Automatic turners can make this easier, especially if you are incubating several eggs.
However, stop turning chicken eggs around Day 18, when the chicks enter the final hatching stage.
Types of Egg Incubators
Forced-Air Incubators
Forced-air models use a fan to circulate warm air. Consequently, they can provide more consistent temperatures throughout the incubator.
Still-Air Incubators
Still-air models do not use a fan, so temperature can vary between different areas. Therefore, thermometer placement and careful monitoring become especially important. Always follow the temperature instructions supplied with your specific model.
Egg Incubation Guide: Candling Eggs
Candling lets you shine a bright light through an egg to observe development. In the early stages, you may see blood vessels and an expanding embryo.
However, avoid opening the incubator unnecessarily. By around Day 14, many guides recommend limiting candling because maintaining stable incubation conditions becomes increasingly important.
Simple 21-Day Incubation Timeline
Days 1–7: Maintain stable temperature and humidity. Turn eggs regularly.
Days 8–14: Continue turning and monitor development. Candling can help identify developing embryos.
Days 15–17: Continue stable incubation and prepare for lockdown.
Days 18–21: Stop turning, increase humidity according to your incubator’s instructions, and avoid opening the incubator unnecessarily.
Common Mistakes to Avoid
Even a good Egg Incubation Guide cannot compensate for poor equipment or inconsistent care. Avoid these common mistakes:
- Frequently opening the incubator.
- Using an inaccurate thermometer.
- Letting temperature fluctuate significantly.
- Ignoring humidity.
- Turning eggs after Day 18.
- Washing hatching eggs.
- Handling eggs unnecessarily during lockdown.
- Helping chicks break out of their shells too quickly.
Most importantly, be patient. Hatching can take time, and some chicks may arrive slightly earlier or later than expected.
Caring for Chicks After Hatching
Once chicks hatch, allow them to dry and become active before moving them to a properly prepared brooder. The brooder should provide warmth, clean water, suitable chick starter feed, dry bedding, and good ventilation.
Additionally, prepare the brooder before hatch day so you do not have to rush after the chicks emerge.
Conclusion
Following an Egg Incubation Guide gives you a clear process for managing fertile eggs from setting to hatch. Focus on stable temperature, appropriate humidity, regular turning, cleanliness, ventilation, and careful observation. Most importantly, follow your incubator manufacturer’s instructions because equipment designs vary.
Ready to start? Prepare your incubator several days before setting your eggs, test its temperature, and keep a simple daily record. With patience and consistent care, this Egg Incubation Guide can help you work toward a healthier and more successful hatch in 2026.
Leave a Reply